How to Use Chess Piece Points to Count Material and Compare Trades
Learn chess piece points, count material after exchanges, and understand why activity, king safety and engine evaluations can outweigh the totals.
- Material Balance
- Piece Exchanges
- Engine Evaluation
On this page
If you’re a beginner, the most useful way to evaluate trades is with chess piece points—the conventional piece values. You can use them as a comparison tool for whether or not you should make a trade. A pawn is worth 1, a knight 3, a bishop 3, a rook 5, and a queen 9. These points help us compare exchanges; they aren’t part of the rules.
The king doesn’t play into this arithmetic because it’s never traded or captured. It has no point value assigned to it in the conventional learning aid, and it plays no role in scoring rules. So we’ll ignore kings when evaluating exchanges.
You want to evaluate if your knight (3 points) is worth more than the bishop (3 points). They’re equal in points, but which one you take still depends on the position. But what about if you had other pieces involved?
Let’s say that you have the following exchange.
Rook versus Knight
In order to evaluate this exchange, you need to look at how many points of material you have left after the exchange. The easiest way to do this is to simply total up the remaining material on both sides, subtract one side from the other, and see what you get.
Let’s go ahead and do that. First, I’ll count the material on my side of the board.
I have two rooks (5 each), two knights (3 each), two bishops (3 each), and eight pawns (1 each). That totals to 5 + 5 + 3 + 3 + 3 + 3 + 1 + 1 + 1 + 1 + 1 + 1 + 1 + 1 = 30.
Now let’s count the opponent’s material.
They have two rooks (5 each), two knights (3 each), two bishops (3 each), and eight pawns (1 each). That also totals to 30.
So I’ve got 30 points of material, and so does my opponent. So I don’t have an advantage. They’re equal.
But now let’s say that I capture their rook, and they recapture my knight. Now my material looks like this:
My opponent has one rook (5), two knights (3 each), two bishops (3 each), and eight pawns (1 each).
I have two rooks (5 each), one knight (3), two bishops (3 each), and eight pawns (1 each).
So I have 27 points of material, and my opponent has 25. But now I lost a knight (3) and gained a rook (5), while my opponent lost a rook (5) and gained a knight (3). So the net result is that I gained 2 points of material, and my opponent lost 2 points of material.
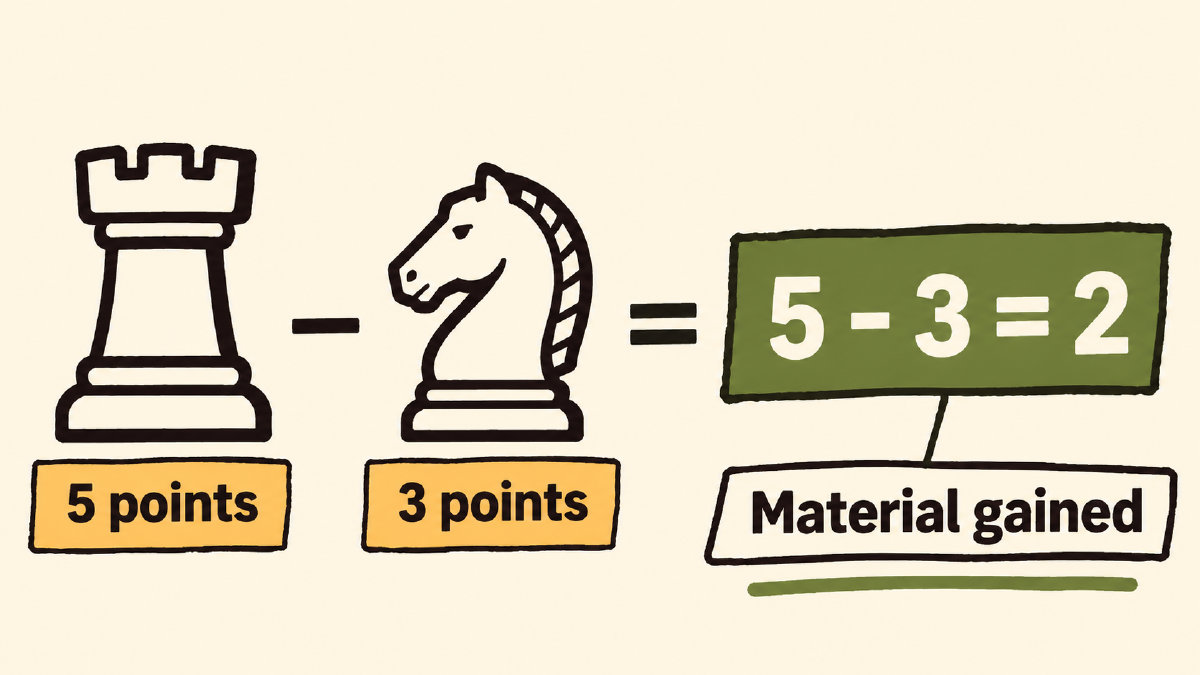
So I’m actually better off by two points of material.
This is where things get confusing for beginners. Because we started equal in terms of material, but now there’s a two-point difference because of what each of us gave up. In this case, I gave up a knight (3) and took a rook (5). My opponent gave up a rook (5) and took a knight (3). So the actual material gain is calculated as follows:
My opponent’s losses − my losses = 5 − 3 = +2
So I’ve gained two points of material.
So the key thing to remember is that it’s not about whose material you have, but rather what material was given up during the exchange. And it’s not about what material you have, but rather what material was surrendered during the exchange.
Two Minor Pieces for a Rook and Pawn
So let’s take another example. Let’s say that I give up two minor pieces (knights or bishops) and take a rook and pawn. Here’s how that would look on the board.
Before the exchange, I have one rook (5), two knights (3 each), two bishops (3 each), and eight pawns (1 each).
Before the exchange, my opponent has one rook (5), one knight (3), two bishops (3 each), and eight pawns (1 each).
After the exchange, if I gave up my two knights, I have one rook (5), two bishops (3 each), and eight pawns (1 each).
My opponent has one knight (3), two bishops (3 each), and seven pawns (1 each).
So again, my material before the exchange totaled to 5 + 3 + 3 + 3 + 3 + 1 + 1 + 1 + 1 + 1 + 1 + 1 + 1 = 25.
Opponent’s material before the exchange totaled to 5 + 3 + 3 + 3 + 1 + 1 + 1 + 1 + 1 + 1 + 1 + 1 = 22.
After the exchange, my material totals to 5 + 3 + 3 + 1 + 1 + 1 + 1 + 1 + 1 + 1 + 1 = 19.
Opponent’s material totals to 3 + 3 + 3 + 1 + 1 + 1 + 1 + 1 + 1 + 1 = 16.
So we’ve each lost 6 points from our remaining material. My three-point advantage has stayed the same.
So how did that happen? Well, I gave up two minor pieces (knights or bishops) totaling 3 + 3 = 6 points, and took a rook (5) and pawn (1), totaling 6 points. So I surrendered 6 points of material, and received 6 points of material. So the net result is that I didn’t gain anything. But why did my inventory change?
Because my opponent gave up a rook (5) and pawn (1), totaling 6 points, and took my two minor pieces totaling 3 + 3 = 6 points. So my opponent also surrendered 6 points of material, and received 6 points of material. So my opponent also didn’t gain anything.
But how come my inventory changed? Because I lost two minor pieces. The rook and pawn I captured came off the board; they didn’t join my pieces. My opponent lost that rook and pawn. So we each lost 6 points from our inventory: mine went from 25 to 19, and his went from 22 to 16. But since he started with less, he ended with less. So my ending total is still three points higher than his.
So in this case, neither of us gained anything in the material balance. We each lost six points from our remaining pieces, and my three-point advantage stayed the same. But in reality, we both gave up and received the same amount of material. We just started with different amounts. This is why I always tell people to look at the entire exchange when evaluating trades. Just looking at the current state of the board doesn’t tell you the whole story.
Positional Factors Beyond the Material Count
Another thing to keep in mind is that the material counts are very simplistic. When comparing equal-value packages, such as two minor pieces versus a rook and pawn, the positional factors can be just as important as the material count. Sometimes, you can actually have an equal material count but still have a significant advantage in other areas of the game. For example, if you have two minor pieces and your opponent has a rook and pawn, you might have an advantage because your minor pieces can coordinate better earlier in the game than rooks. Or maybe you have a lot of other pieces and pawns on the board, and your opponent has fewer. Or maybe your rooks are blocked behind your own pawns until much later in the game, while your minor pieces are already playing actively. Or maybe your opponent has trapped pieces, including a bad bishop that can’t move anywhere because of its color-square restrictions. So you could have an equal material count, but your minor pieces might be far more valuable in the concrete position.
And finally, remember that material counts can’t determine checkmate. If you’re down a rook, but your opponent’s king is boxed in and all of your pieces are attacking him, then you might still have a chance to win the game. On the flip side, if you’re up a rook, but your opponent’s king is safe and all of his pieces are coordinating well, then you might still lose the game. In those situations, the activity and mobility of the pieces, along with the potential for promotion, can outweigh the material count. If you check the position with modern Stockfish, its normalized evaluation is tied more to winning probability than directly to material. So I wouldn’t expect that number to match my material count. To review a game you’ve finished, you can use this site’s analysis board, which supports PGN and FEN input and shows Stockfish lines.
Sources
More in Chess Basics
- How the Queen Chess Piece Moves, Captures and Stays SafeLearn how the queen chess piece moves and captures, what its nine-point value means, and how to review queen-safety mistakes after a game.
- How Fools Checkmate Works and How to Avoid ItUnderstand fools checkmate, usually called Fool's Mate: the two-move sequence, why White cannot escape, and pawn mistakes to review afterward.
- How the Horse Chess Piece Moves, Jumps and CapturesThe horse chess piece is the knight. Learn its L-shaped moves, how jumping and captures work, and how to recognize a knight fork.