How to Recognize Zugzwang in Chess Endgames
Recognize zugzwang with a king-and-pawn example, understand why whose turn it is matters, and learn what to check in completed-game reviews.
- Endgames
- Pawn Endgames
- Game Review
On this page
I've discussed zugzwang before, and I'll try to elaborate on it here. The definition of zugzwang is that you are at a disadvantage because you're compelled to move. There's some debate about whether an unpleasant position or one where there is only one bad choice is considered a zugzwang; but every legal move would make the position worse for you.
In other words, you have no pass. If you could just stay where you are, you'd prefer that. However, your obligation to move forces you into a concession. You may lose a win, or lose a draw. This situation can be either an advantage or a disadvantage, depending on whose turn it is. For example, if White is under zugzwang, it’s Black who has the advantage.
This article discusses how to recognize such a situation, both in terms of theoretical understanding as well as its implications in actual play.
Let’s look at two different positions, each with their own consequences. One is a reconstructed king-and-pawn setup that is based on documented variations and continuations (and not independently tested), and another involves waiting moves and triangulation. Each of them provides insight into what defines zugzwang.
Reconstructed Position
Here’s a reconstructed king-and-pawn endgame. The original position was described by someone else, so we’ve reconstructed it from documentation. In this example, it’s White’s turn to move. Here’s the original position:
White: King on d6, Pawn on c7
Black: King on c8
In this position, White’s king is placed on d6, while his pawn is on c7. His opponent’s king is on c8. It seems that the original player has reconstructed this particular setup from various sources.
So here are the consequences of these placements:
If it’s White’s turn to move, then 1.Kc6 will result in stalemate — which means no legal move exists, and no check occurs. So, this immediately draws the game.
However, any other legal move that White makes with his king would lead to 1…Kxc7, a draw. That’s because Black would have captured White’s pawn on c7, leaving only the two kings. White cannot escape the draw by moving his king around.
But now suppose it’s Black’s turn to move. The only legal move available to Black is to move his king to b7 (1…Kb7). Then, after that, White moves his king to d7 (2.Kd7), followed by a promotion of the pawn on White’s next move.
So, if it’s White’s turn to move, the game ends in a draw, while it ends in a loss if it’s Black’s turn to move. But Black’s legal move abandons a square, and thus loses the ability to defend it.
Zugzwang and Stalemate
Stalemate is defined as “no legal move, and no check.” So if you have no legal moves, and you aren’t in check, you’re said to be stalemated. However, in chess, stalemate does not constitute a win, and therefore, if the conditions exist, the game is drawn. The difference between zugzwang and stalemate is that in the latter case, there’s a lack of legal moves; whereas in the former, the player has no alternative choices that improve the position. When every legal move makes the position worse than a hypothetical pass would, the player is said to be “in zugzwang.”
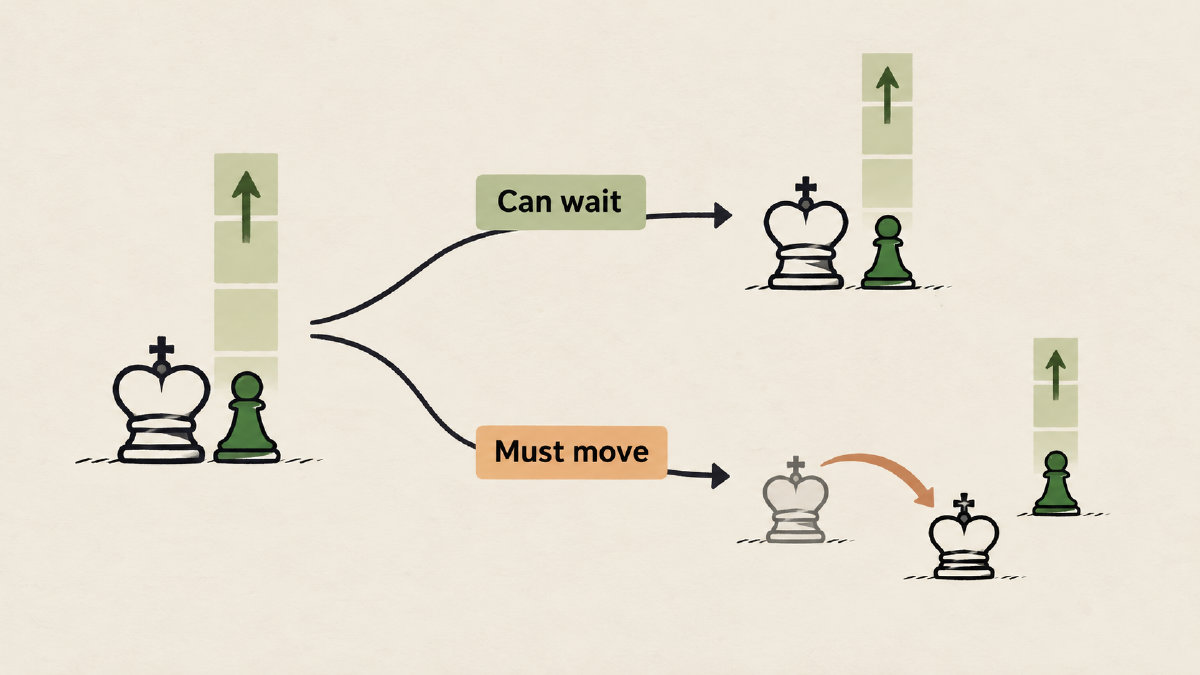
You don’t see zugzwang very often in the early stages of a game, especially when the players have plenty of options to choose from. In addition, many people confuse zugzwang with being in a poor position, when they should consider that the player may be able to simply remain in place, rather than making any move. In short, if a hypothetical pass would be no better than the best legal move, then the position is not zugzwang, although it might seem like it. What matters is whether the player is forced to move, thereby making the position worse.
Waiting Moves and Triangulation
Sometimes, a waiting move or triangulation can help transfer the move to the other side. This requires that a certain maneuver preserves useful access.
Fischer–Taimanov, Game 4, 1971
In this game, the following sequence occurs:
59.Bc4! Nc6 60.Bf7 Ne7 61.Be8
The key point here is that 59.Bc4! is a waiting move. Why? Because otherwise, the bishop will be blocked off. The reason for playing Bc4 is to preserve access to the f7 square, so that the bishop can safely arrive at e8. Note that this route enables the bishop to reach e8 in three bishop moves.
On the white king’s side, this allows the bishop to attack the black g6 pawn, and also restricts the movement of the black king, which cannot move to c6. The black knight cannot lose a tempo. Moving it from e7 permits the bishop to capture kingside pawns, and this is a critical consideration.
Finally, the bishop reaches e8. This is the position that Black is in zugzwang. Now, the knights can’t afford to lose a tempo, and so their king will have to move elsewhere.
How to Recognize Zugzwang
Now, let’s apply our definition of zugzwang to completed games. How do we go about doing this? Let’s break down the steps:
Determine whose turn it is
Look at all of the legal alternatives and determine what they all concede
Compare to what would happen if the player stayed in place
Trace back through the previous plays to see if any of them resulted in an exhausted waiting move, or whether the turn was reversed.
Let me pose the following questions to myself:
Whose turn is it?
Is there a hypothetical pass?
Do the legal moves all yield a worse outcome?
Did the preceding move allow for a waiting move to be exhausted?
Is the game in zugzwang or not?
Does it matter?
Reciprocal Zugzwang
There is also reciprocal zugzwang, wherein an inaccurate move can return the same placement, and then the turn is transferred to the other player.
In conclusion, it’s crucial to identify and understand the implications of zugzwang, whether it’s the player’s turn to move, the possibility of making a wait, or the opportunity to take an accurate move. By applying these principles, players can avoid mistakes, ensure that their position isn’t in zugzwang, and maximize their chances of victory.
Sources
More in Chess Basics
- How to Recognize and Prevent Scholar's MateRecognize Scholar's Mate, understand the queen-and-bishop attack on f7, and review the defensive moves that stop the four-move checkmate.
- How the Bishop Chess Piece Moves and CapturesLearn how the bishop chess piece moves and captures, why blocked diagonals matter, and how its three-point value depends on the position.
- Learn Chess Character Names and Recognize Every PieceLearn chess character names, recognize the six piece types, and understand their basic moves, point values and letters in game reviews.